Got a water butt that seems to fill up every time it rains?
Good news – you don’t necessarily need to replace it with a bigger one.
Linking two water butts together is a simple DIY job that can quickly give you extra rainwater storage in your garden. With a water butt linking kit and a few basic tools, you can make better use of all that lovely British rain.
Why Link Two Water Butts?
If your existing water butt regularly reaches capacity, adding a second tank is an easy way to increase your rainwater storage.
Instead of excess water being wasted once the first water butt is full, a water butt linking kit allows water to move into another tank.
That means more free rainwater available for watering your plants, pots, borders and lawn when you actually need it.
It’s particularly handy during those classic British weeks where we seem to get a month’s worth of rain followed by several surprisingly dry days!
What Do You Need to Connect Two Water Butts?
You don’t need an enormous list of tools or complicated plumbing.
You’ll generally need:
- Two suitable water butts
- A water butt linking kit
- A flat, stable area for both tanks
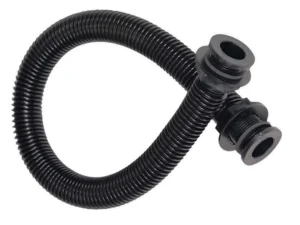
Your linking kit should contain the fittings and connecting hose required.
Check Your Water Butt First – You Might Not Need to Drill!
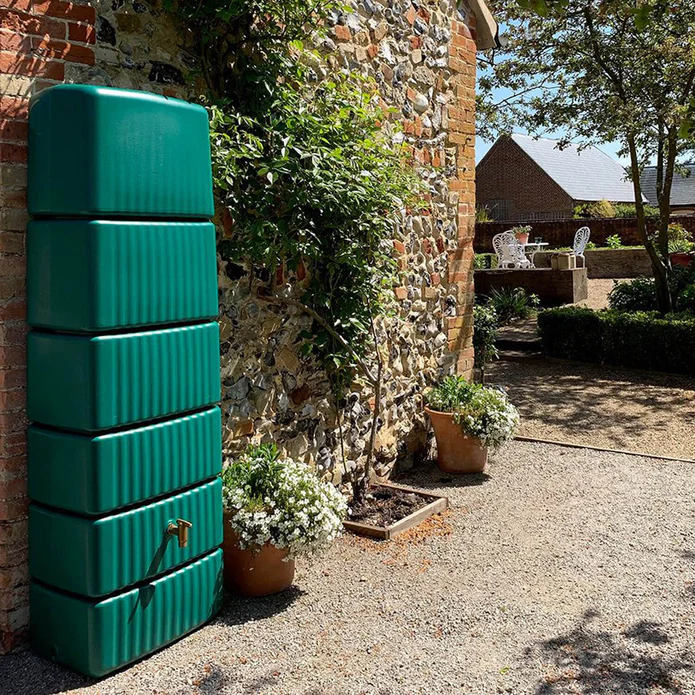

Before reaching for the drill, have a good look around your water butt.
Some water butt models already have additional pre-drilled or prepared connection points that can be used for linking another tank or adding accessories.
These may be covered with a cap, bung or blanking fitting when they’re not being used.
If your water butt already has a suitable connection point, you may simply be able to remove the existing cap or bung and fit the appropriate connector. This can make linking two water butts even quicker and easier.
Always check the instructions for your particular water butt and linking kit first, as connection sizes and positions can vary between models.
No drilling required? Even better!
How to Link Two Water Butts Together
Step 1: Position Your Water Butts
Start by deciding where your two water butts will sit.
Ideally, position them fairly close together so the linking hose can comfortably reach between the tanks without being stretched or kinked.
Both water butts should be installed on a firm, flat and stable surface capable of supporting their weight when full.
Remember, water gets very heavy very quickly!
Step 2: Decide Where Your Linking Kit Will Go
Your connector will normally be fitted towards the upper section of each water butt.
This means your first tank can fill before excess rainwater travels through the linking hose and into the second tank. But at the base works too if you already have pre drilled sections.
Check the instructions supplied with your linking kit for the correct position before making any holes.
Try to keep the connection points on both tanks at the same height so the water can move between them properly.
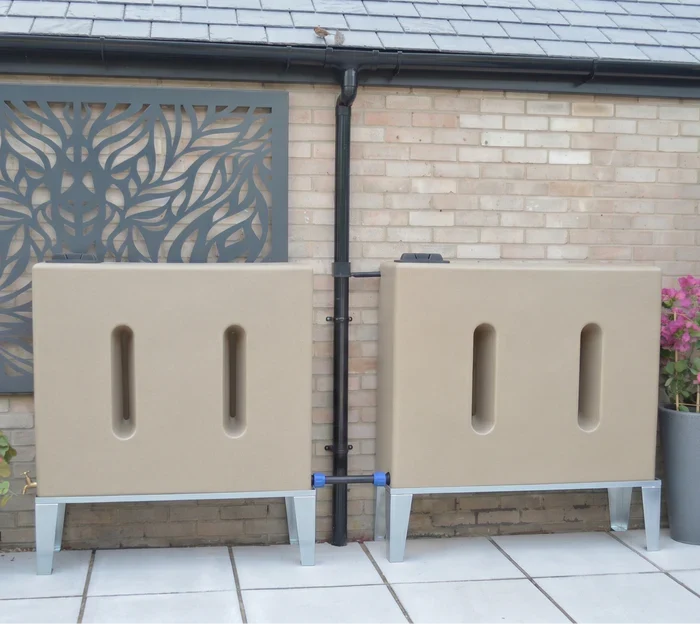
Step 3: Mark Your Connection Points
Once you’re happy with the position, carefully mark where the connector will be fitted on each water butt.
Double-check your measurements.
You want the two connection points to line up as closely as possible.
There’s no need to rush this bit – taking an extra minute with the tape measure can save you a headache later!
Step 4: Drill the Holes
Using the correct drill or hole saw for your water butt linking kit, carefully make the required hole in each tank.
Remove any loose plastic or rough edges around the holes before fitting the connectors.
That’s probably the scariest-looking part of the whole job done!
Step 5: Fit the Connectors
Install the linking fittings into each water butt according to the instructions supplied with your kit.
Make sure any washers or seals are correctly positioned and that the fittings are secure.
Avoid overtightening the connections. Secure doesn’t have to mean as tight as humanly possible!
Step 6: Connect the Hose
Attach the linking hose between the two fittings.
Make sure the hose isn’t twisted, crushed or kinked, as this could restrict the flow of water between your tanks.
And that’s it.
You’ve just increased your rainwater storage!

How Do Linked Water Butts Work?
Your first water butt continues collecting rainwater from your downpipe through its rainwater diverter.
As the water level rises and reaches the linking point, excess water can travel through the connecting hose into your second water butt.
Rather than relying on another downpipe, you’re making better use of the rainwater already being collected.
Can You Link More Than Two Water Butts?
Depending on your tanks and setup, it may be possible to connect additional water butts using suitable linking kits.
This can be a useful option if you have plenty of roof space collecting rainwater but don’t want one enormous tank dominating the garden.
Just remember that every water butt needs to be properly supported and installed according to the manufacturer’s guidance.
A Few Things to Check Before You Finish
Once everything is connected, give your setup a quick inspection.
Check that both water butts are stable, the linking hose isn’t kinked and all connections are properly sealed.
After the next good downpour, have another look at the connections for any signs of dripping.
If everything looks good, you’re ready to start making the most of your extra stored rainwater.
More Rainwater Without a Bigger Water Butt
If you already have a water butt that’s regularly overflowing, linking a second water butt can be one of the easiest ways to increase your rainwater storage capacity.
There’s no complicated plumbing involved and you don’t necessarily need to remove your existing tank.
A linking kit, a few simple tools and a little bit of DIY can give you considerably more water to use around the garden.
At Spudulica, we love the simple garden jobs that make a genuine difference.