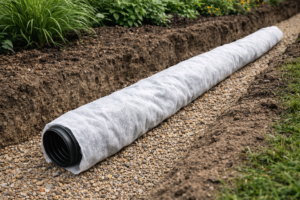
- Pick the right tank for your garden
Choose a tank that fits your space—like Spudulica’s Tall & Slim 330 L or 100 L Wall‑Mounted Butt, both UV‑stable and compact. The tall one even has a pre‑installed ¾″ threaded hole around 41 cm from the base—perfect for tap fit‑and‑forget convenience!
- Choose the ideal tap
You can grab a tap (¾″ connection) that fits most water butts and even works with Hozelock fittings—great for watering cans or hoses .
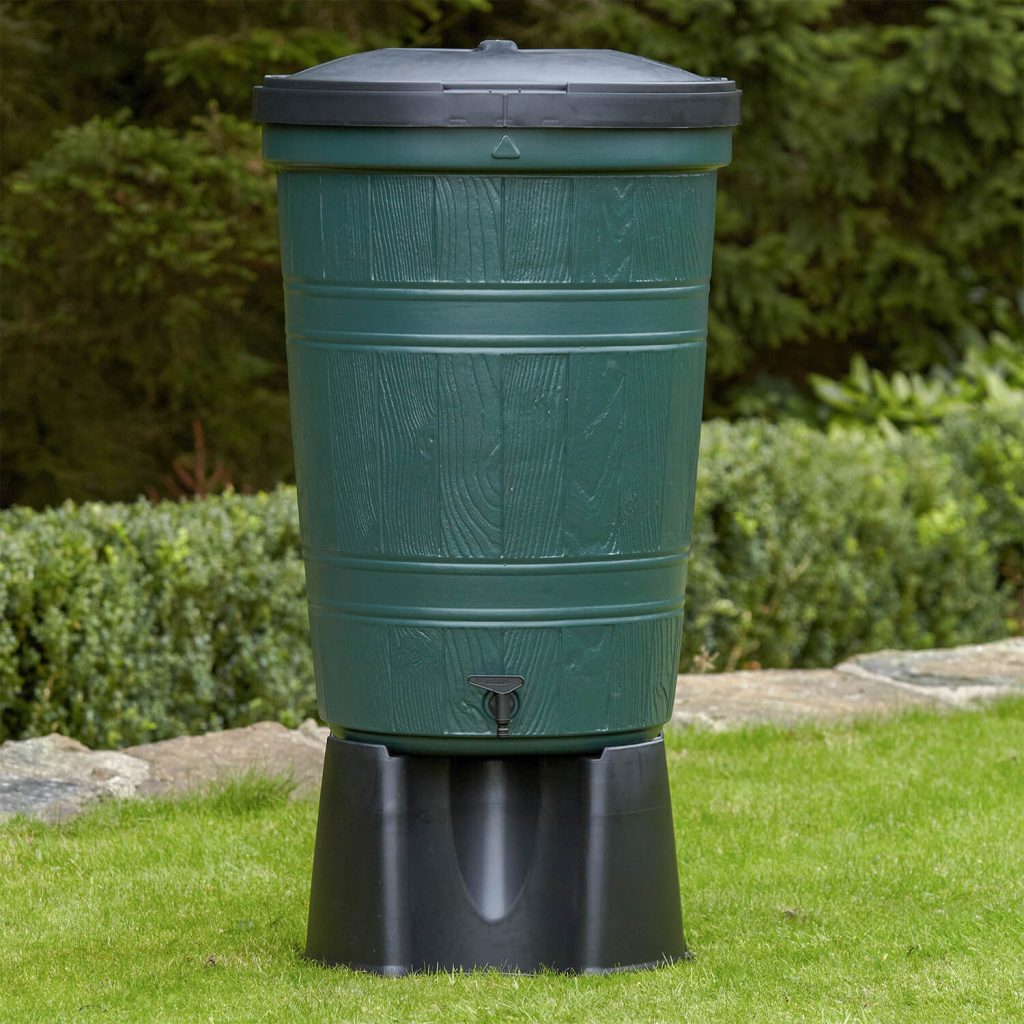
- Elevate your tank to give that tap space
Even a small stand (or bricks!) lifts the tank so your watering can or bucket fits neatly underneath. This turn‑your‑tank‑into‑a‑easy‑access‑station step is a DIY win. This might not even be needed as some tanks do not require stands and tap is ideally situated already!

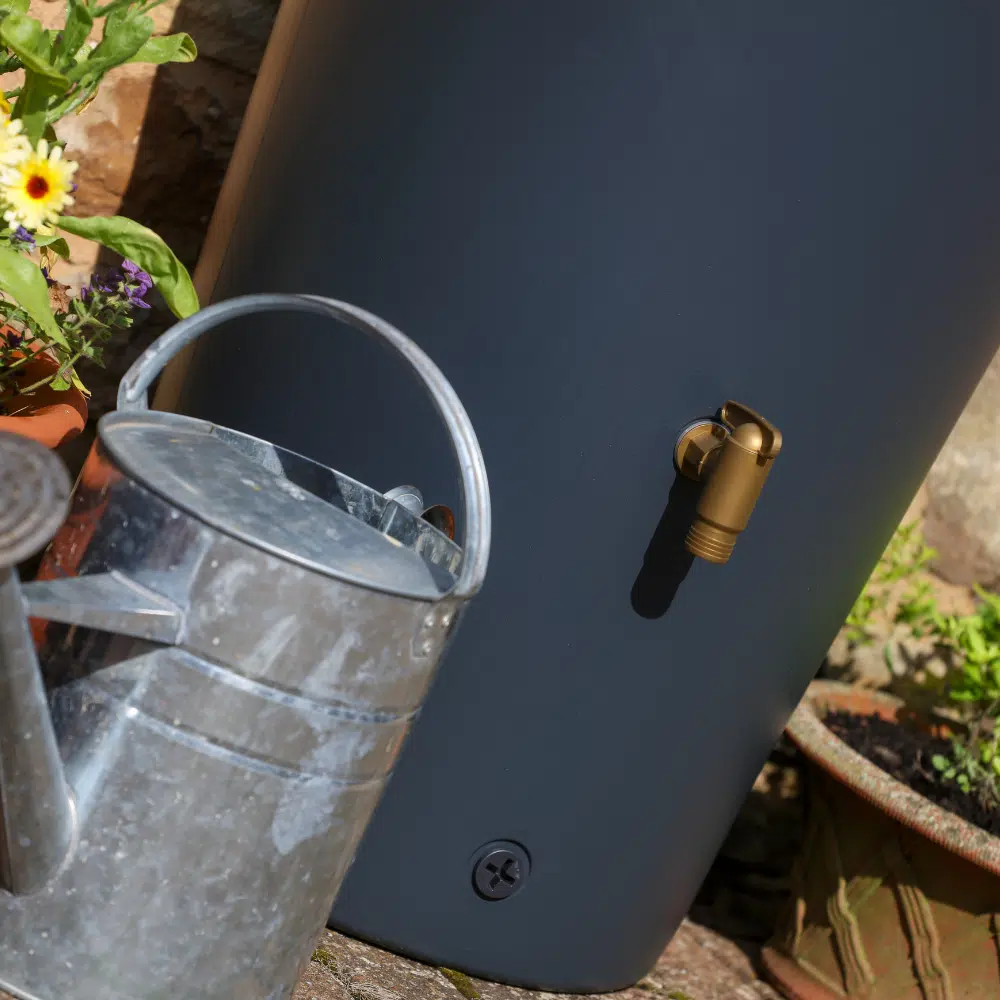
- Drill the hole & fit the tap
Most tanks either have a pre‑cut hole or a flat area ready to drill. Just follow the outline, drill a clean ¾″ hole, and screw the tap in—using a rubber washer inside to seal it snugly. It’s fast and satisfying!
- Add a downpipe diverter
Use a rain diverter kit to shunt downpipe flow into your tank—when full, it overflows back into the drain so no mess. Spudulica’s kit adapts to square or round pipes and includes extra connectors—perfect for small setups
- Seal it up tight
Check the lid, seals, pipework, and tap regularly to keep out debris and prevent leaks. Clean water = happy plants!
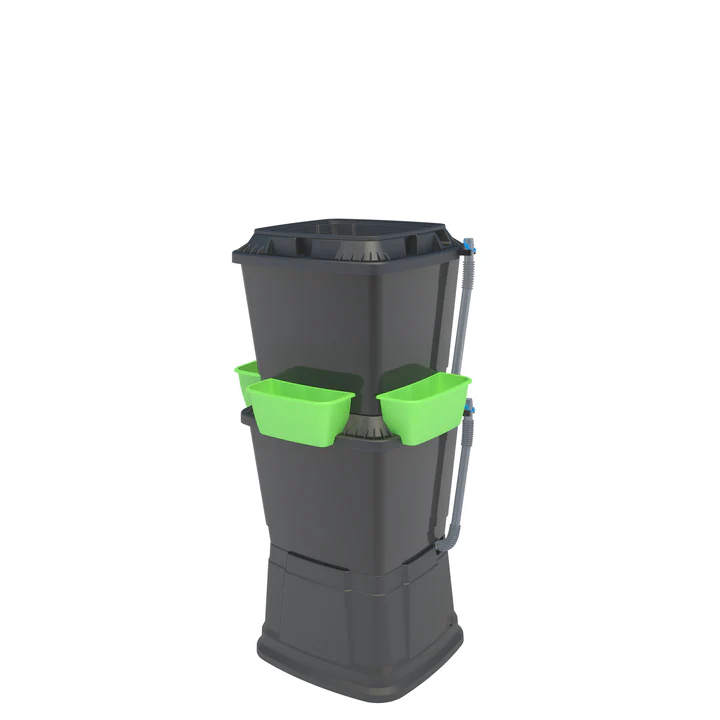
- Tank-tastic planter twist
Why not choose a planter tank like the 220 L Cosmo? Top’s a planter—combine utility with greenery and it becomes a living feature in your mini-garden
- Friendly maintenance
Clean out once or twice a year, prune any plant debris on the lid, and ensure your tap is still snug. Happy tank = happy harvest.
Tools Needed for Installing a Water Butt Tap
Basic Tools
- Cordless drill – For drilling the hole (if one isn’t pre-cut)
- Drill bit – Typically a ¾″ hole saw or spade bit (match your tap size)
- Tape measure – To position the tap at the right height (usually ~40cm from the base)
- Spirit level (optional) – For checking if your stand or base is even
Sealing & Fitting
- Rubber washers – For sealing the tap hole (usually included with the tap)
- PTFE tape (plumber’s tape) – Optional, helps create a watertight thread seal
Optional Extras
- Water butt stand or bricks – To raise the tank and make space for filling cans
- Downpipe diverter kit – To connect your guttering system
- Bucket or cloth – To catch any drips while working
- Work gloves – Always handy for grip and safety
Adding a tap to your water butt is one of the simplest upgrades you can make—and the benefits flow instantly! With just a few tools and a bit of DIY confidence, you’ll have easy access to free, collected rainwater right where you need it. No more awkward scooping or tipping—just turn the tap and fill your watering can in seconds. It’s quick, satisfying, and makes everyday garden care smoother, especially in small spaces.
Whether you’re nurturing pots on a patio or keeping a compact veggie patch happy, a tap turns your tank into a tidy, time-saving garden essential.